

Living in a rented house has its restrictions, especially becoming wary what is acceptable to hang on the walls, etc. I love the idea of being able to carelessly hang up memories, without the picture frame or canvas. Many companies are offering their services to allow you to select your memorable snaps, and recreate them into a Polaroid look-a-like. At the moment, I'm on my summer break from university, which means my purse strings are most definitely taught. Being a creative somebody, I took to the net, especially Pinterest to get some inspiration on how to do this at home! This technique is so basic and simple, it by no means needs a blog post to demonstrate, but none the less, I think it is a great trick and I have some tips to create perfect DIY Polaroids!
.png)
.jpg)
.jpg)
Firstly, you want to pop onto Google, and find the Polaroid frame you want. I simply searched Polaroid Template, and tonnes pop up. You then want to copy the template image, save and then copy multiple times into Microsoft Word. I wanted around 10 photographs, but this is totally dependant on yourself. The beauty of this crafty DIY, is you can add more along, as you take more snaps! TIP: If you are running low on printing ink or photo paper, try and fit as many Polaroid's onto one page! I had already took my images from Instagram, and gave them a black and white filter. You can completely personalise them to fit your liking.
I resized them to fit into the black Polaroid frame. Once I had completed this to all my images, I went ahead and grouped each image. This allowed me to ensure all the images were completely the same size. I right clicked to More Layout Options, and adjusted the size to the original template size. Somewhere along the line, it's easy to resize a bit too much, so this step ensures everything is inform for cutting out. Once the editing is complete, print the images out onto photo paper.

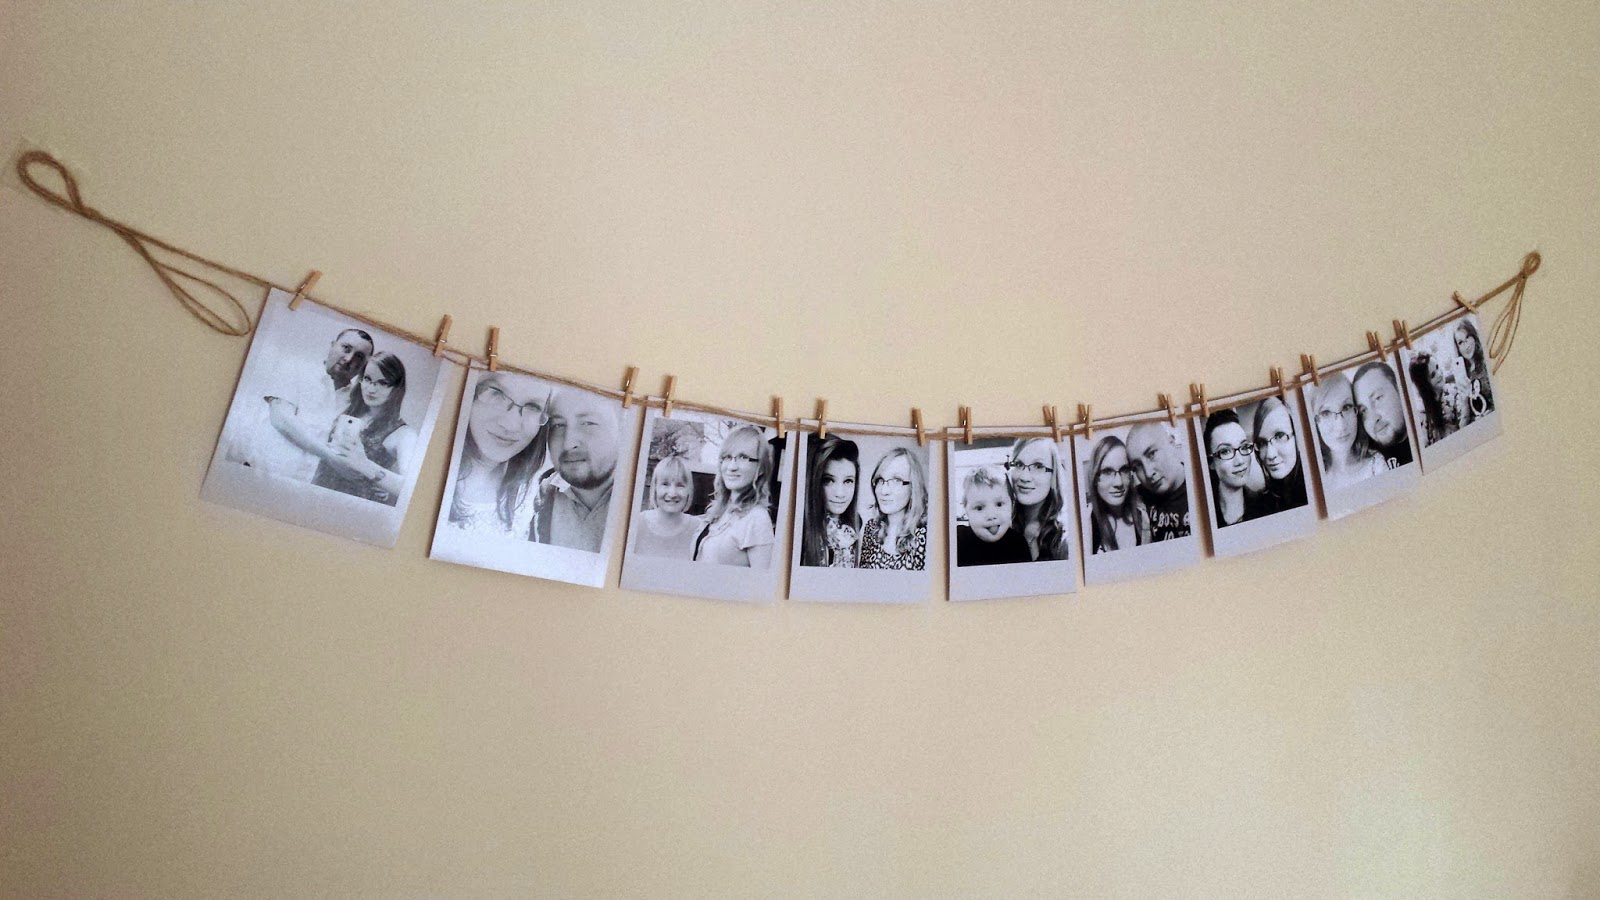
To begin assembling your bunting, you will need the following above. Not all are necessary, you can opt in or out, depending on your theme. I wanted to have a natural Hessian/Twine string, with mini pegs holding the Polaroids in place. I simply continued to pull out the length of string I desired, and added knots to the end, for a dishevelled finish, and pop the mini pegs in place. So easy! In these photos, I have held up my bunting with double backed masking tape, so I could adjust the height and positioning before hammering in some small tack pins.


That is such a good idea! Looks amazing!!
ReplyDeleteLa Roche-Posay Giveaway over on my blog: http://milliecbeauty.blogspot.co.uk/
This comment has been removed by the author.
ReplyDeletehey i'm Fran i love you blog its so cute. I've just started blogging and i'm looking to grow my viewing base currently i get about 200 views on each post. I would love it if we could do a collaboration or maybe you could mention my blog sometime ? if you are interested at all please contact me , francescabull2000@gmail.com , thank you so much for your time ! xx
ReplyDeleteAhh I love this! Really effective idea and what an awesome tutorial too.
ReplyDeleteBest wishes, Danielle xo
www.underlandtowonderland.com